How to resize LVMs on the fly under VMware

When last we joined our intrepid hero, back in *checks notes* 2009.. I was working at a university, helping to run their internal cloud and they had a policy of setting up LVM for all the linux VMs, and I wrote the blog post so I could remember how to do online resizes.

I no longer work in that job, country, or sector, but I still use LVM on my home VMs, so still need them sometimes. However today I needed to extend an LVM containing a PV that was the entire disk, not just a partition, and the instructions didn’t work for me, so this is what I had to do..


root@serverName:~# df -h
Filesystem                 Size  Used Avail Use% Mounted on
/dev/mapper/vgRoot-lvRoot   15G  7.4G  6.6G  53% /
/dev/mapper/vgData-lvData   98G   93G     0 100% /data
#
# Firstly, we see that the volume is 100% full, so we extend in VMWare to 200GB
# and rescan partition geometry
#
root@serverName:/data# echo '1' > /sys/class/scsi_disk/32\:0\:1\:0/device/rescan 
#
# Next, run fdisk for info only, to check it's seen as a 200GB device. We don't make
# any changes though!
#
root@serverName:/data# fdisk /dev/sdb

Welcome to fdisk (util-linux 2.34).
Changes will remain in memory only, until you decide to write them.
Be careful before using the write command.

The old LVM2_member signature will be removed by a write command.

Device does not contain a recognized partition table.
Created a new DOS disklabel with disk identifier 0x44d591a2.

Command (m for help): p
Disk /dev/sdb: 200 GiB, 214748364800 bytes, 419430400 sectors
Disk model: Virtual disk    
Units: sectors of 1 * 512 = 512 bytes
Sector size (logical/physical): 512 bytes / 512 bytes
I/O size (minimum/optimal): 512 bytes / 512 bytes
Disklabel type: dos
Disk identifier: 0x44d591a2

Command (m for help): q
#
# Correct new drive size is seen, so we rescan/resize the PV
#
root@serverName:/data# pvresize /dev/sdb
  Physical volume "/dev/sdb" changed
  1 physical volume(s) resized or updated / 0 physical volume(s) not resized
#
# Next, we extend the LV into the new space
#
root@serverName:/data# lvextend -L+100G /dev/vgData/lvData 
  Size of logical volume vgData/lvData changed from <100.00 GiB (25599 extents) to <200.00 GiB (51199 extents).
  Logical volume vgData/lvData successfully resized.
#
# Verify the new space is seen in the LV
#
root@serverName:/data# lvdisplay
  --- Logical volume ---
  LV Path                /dev/vgData/lvData
  LV Name                lvData
  VG Name                vgData
  LV UUID                WsxT1O-jzLF-D4fP-1AN5-ApQs-Kx6i-yQx2iA
  LV Write Access        read/write
  LV Creation host, time ubuntu-server, 2020-08-09 05:07:00 +0000
  LV Status              available
  # open                 1
  LV Size                <200.00 GiB
  Current LE             51199
  Segments               1
  Allocation             inherit
  Read ahead sectors     auto
  - currently set to     256
  Block device           253:0
   
  --- Logical volume ---
  LV Path                /dev/vgRoot/lvRoot
  LV Name                lvRoot
  VG Name                vgRoot
  LV UUID                9bpv9H-q53y-TwUC-n8k5-vYgi-y0ay-lBY367
  LV Write Access        read/write
  LV Creation host, time ubuntu-server, 2020-08-09 05:07:01 +0000
  LV Status              available
  # open                 1
  LV Size                <15.00 GiB
  Current LE             3839
  Segments               1
  Allocation             inherit
  Read ahead sectors     auto
  - currently set to     256
  Block device           253:1
#
# Finally resize the filesystem inside the LV
#
root@serverName:/data# resize2fs /dev/vgData/lvData 
resize2fs 1.45.5 (07-Jan-2020)
Filesystem at /dev/vgData/lvData is mounted on /data; on-line resizing required
old_desc_blocks = 13, new_desc_blocks = 25
The filesystem on /dev/vgData/lvData is now 52427776 (4k) blocks long.
#
# And we're done!
#
root@serverName:/data# df -h
Filesystem                 Size  Used Avail Use% Mounted on
/dev/mapper/vgRoot-lvRoot   15G  7.4G  6.6G  53% /
/dev/mapper/vgData-lvData  197G   93G   95G  50% /data
root@serverName:/data# 

How to wire a reversing camera to a 2009 SH Subaru Forester

I got a new (to me – it was my mum’s!) car back in 2022, for baby hauling. Cars came a long way in the 12 years since it was made, so I added the following to it:

  • 1 – Front and rear dashcam
  • 2 – Head unit with car play
  • 3 – Front and rear sensors
  • 4 – Reversing Camera

Item 2 required item 4, and since I was going to be pulling large portions of it apart anyway, I figured may as well do all of the above..

Reversing cameras require power to run the camera, and that is also sent to the head unit to know when to show the camera, so I needed a feed from the reversing lights to go to the camera and to the head unit. I had installed the sensors back in 2022, but the wire joiners I used were crap, so I didn’t want to do that again, and the wire from the tail lights I hooked into was inconvenient to get to. So a friend suggested using the trailer hookup. I found that, but the documentation on exactly which wire does which isn’t super easy to find – each of the circuits is documented seperately in Subaru’s documentation, so you can’t just say “what is the pinout of connector R79?”

So here it is:

R79

  • 10 – Blue – FB-1 F/B FUSE NO. 1 (BAT)
  • 9 – Brown/Yellow – Reversing Light
  • 8 – Black/Yellow – GND
  • 7 – Black/Yellow – GND
  • 6 – Red – Rear fog light
  • 5 – Blue/Black – Turning – Right
  • 4 – Light green – Turning – Left
  • 3 – Brown – Brake
  • 2 – Pink – License Plate Light
  • 1 – N/C – N/C

So for the camera, pretty obviously you want Brown/Yellow and Black/Yellow. Run a wire from the front to back and also to the camera. Simples, right? Well, once you fish it and the video cable and the dashcam USB cable through the tiny tube to the liftback, sure.. The first camera I got was a piece of poop, so I got a second one which is much better – I recommend this one – https://www.aliexpress.com/item/1005005764743719.html

The more complex question was for the reversing sensors – they require 12V, Brake, Reverse and Negative. You wouldn’t want to use pin 10, as that is live all the time and will drain your battery, so I hooked mine up to 6 – Red – this means the reversing sensors shouldn’t work unless you have your lights on.. except I found they did anyway, so it must also work without it. Your mileage may vary.

Hope this helps someone one day!

Look what we made!

For the interest of anyone stalking me from afar – Number 1 – that’s weird, reach out on facebook and say hi! and Number 2 – Elizabeth and I had a daughter named Avery in August. She’s amazing and we love her a lot. A very large amount even.

Festool Domino DF500

So.. I drooled over this for a long time, always thinking it was too much for me and my use. But I finally got one.. and it’s amazing.

In my obsession over them, I found they essentially never show up secondhand – that’s how useful they are. I got the work stop attachment too, which I haven’t seen much on youtube, but it’s also great.

Another thing that showed up, is that there are actually two versions of the joiner – an older one with metal alignment pins, and a newer one with plastic ones – and a few other differences too.

Systainers are great, the documentation is amazing.. I just wish it wasn’t quite so expensive – but buy once, cry once, right?

How can I use a Canopus ADVC-100 in 2020 with my OSX Catalina?

Don’t.

Ok, how about with Mojave?

Again, don’t.

But I already own it! and I have a Mac with firewire. I should be good to go for finally converting all those old tapes right? Hard drives are cheap now! I could copy Michael Lynch!

No.

And here’s why – VCR tapes are made for CRT TVs. This means that they’ve never been too precious about timebase, because it hasn’t mattered. Unterzuber here has a great page about timebase and why it’s important to get a good one for for video conversion.. but I’ll skip all that and say this – devices like the ADVC-100 really needed one for knowing where and when each frame begins and ends, because they use that to create IEEE 1394 digital video frames – if the timebase is bad, the audio stutters, frames drop and all sorts of bad happens.

I got my ADVC-100 probably 15 years ago, work was getting rid of a bunch of them. They were originally USD$199 new, because digital video, firewire and conversion is hard and people should pay for it. I only ever used it for capturing from my now deceased DVD-H40A, one of the first DVD players with a hard drive recorder built in, and which output a perfect timebase signal, so it was never an issue.

But I’m trying to convert some videos from tapes for family, and oo boy is it not liking it. I didn’t want to pay upwards of $100-150 for some of the retail device that might not work – but I came across this video from a channel I trust and enjoy, Technology Connections – https://www.youtube.com/watch?v=ZC5Zr3NC2PY

Again, skipping to the conclusion – I bought a composite to HDMI converter, and then a HDMI capture device for $15 each from eBay, so $30 all up, and with the exception of NTSC443, it’s perfect.

The ADVC-100 was an amazing device for its time, but its time is over. Sorry.

20 years of theducks.org

On this day, 20 years ago, I signed up with Internic for theducks.org. I paid AUD$110 for 2 years of registration. In the interceding 20 years, I’ve had to explain many times why my email address is @theducks.org – including once to the Federal Court as part of an anti-spam prosecution. These days I now mostly give away @alexdawson.net as my email address, but I still think theducks.org is a fun domain to have.

Reduce, reuse, repair, recycle

I’ve had one of those couple of weeks where everything seems to be breaking or there’s lots of projects to do. Some of the projects I’ve been working on..

  1. Receive MacBook Pro from EG for recycling – determined battery had swollen and failed, replace with battery from same model with dead logic board received from EB. Reformat system.. logic board fails (again, I previously reflowed with heat gun in 2017). Recycle maybe? Or try repair again? :D
  2. Upgrade Mac Mini SSD for OC (512GB -> 2TB) – pre-stage previous day, CCC clone to new drive, open and replace. All works.
  3. Open and re-terminate Apple PSU cable (number 9 I think?) for AS
  4. Purchase RTX2060, remove GTX970 from Main PC, put into Media PC
  5. Spend about an hour getting Media PC to work again – needed to put graphics card power cables back into PSU, route them to case, plug in card, troubleshoot no graphics card found, find card wasn’t perfectly seating due to horizontal SATA port fouling, move to second PCIe slot
  6. Go to install RTX2060 in Main PC case. Find it doesn’t fit, disassemble case a bit to drill out rivets holding in unnecessary drive slots, find slots also spot welded in. Decide that while angle grinder would fix that, I should remove motherboard, and if I’m going to do that, I may as well put it in a new case (existing case is circa 2006, owes us nothing). Find new case, install in new case, troubleshoot faulty RAM, remove RAM
  7. Repair digital thermometer – resolder probe wires to PCB and replace battery. All works
  8. Repair Strong DTV PVR for MP – no HDD showing in UI. Remove HDD and test – all working. Run with case open – drive spins up. Inspect PCB, remove swollen capacitors, replace – all working now. Yay!
  9. Repair Dyson handheld vac head – motor not running. Disassemble head, remove dust, re-tension belt – all works
  10. Found dead Apple Bluetooth keyboard in e-waste – repair ongoing – leaked battery has welded button plug in
  11. Replace MacBook Pro Retina battery for MC – battery to be delivered today. Repair soon.

Oh yeah, we moved back to Australia

Since it isn’t specifically stated here – for those following from afar, we moved back to Australia.

In late 2016.

Canada was great, we had some amazing experiences and made some awesome friends, but housing was too expensive and we missed our families and friends here. Any one of those wouldn’t have done it, but the combination meant it wasn’t what was right for us, for now. But we are and remain proud Canadian citizens – we hold a Canada Day party every year as a winter catch up, and you never know what the future holds. We moved to Canada on a two year plan, and since I was always bad at maths, we stayed for 7. We’re back in Perth on a 10 year plan (almost 2 years into it!) so we’ll see what happens next. We bought a nice house, close to friends and family, and we’re enjoying it so far.

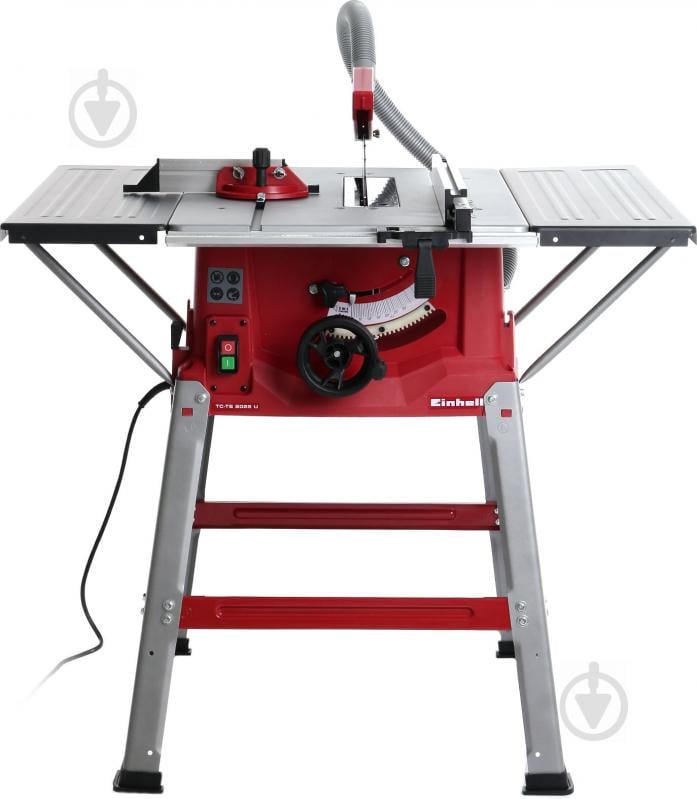
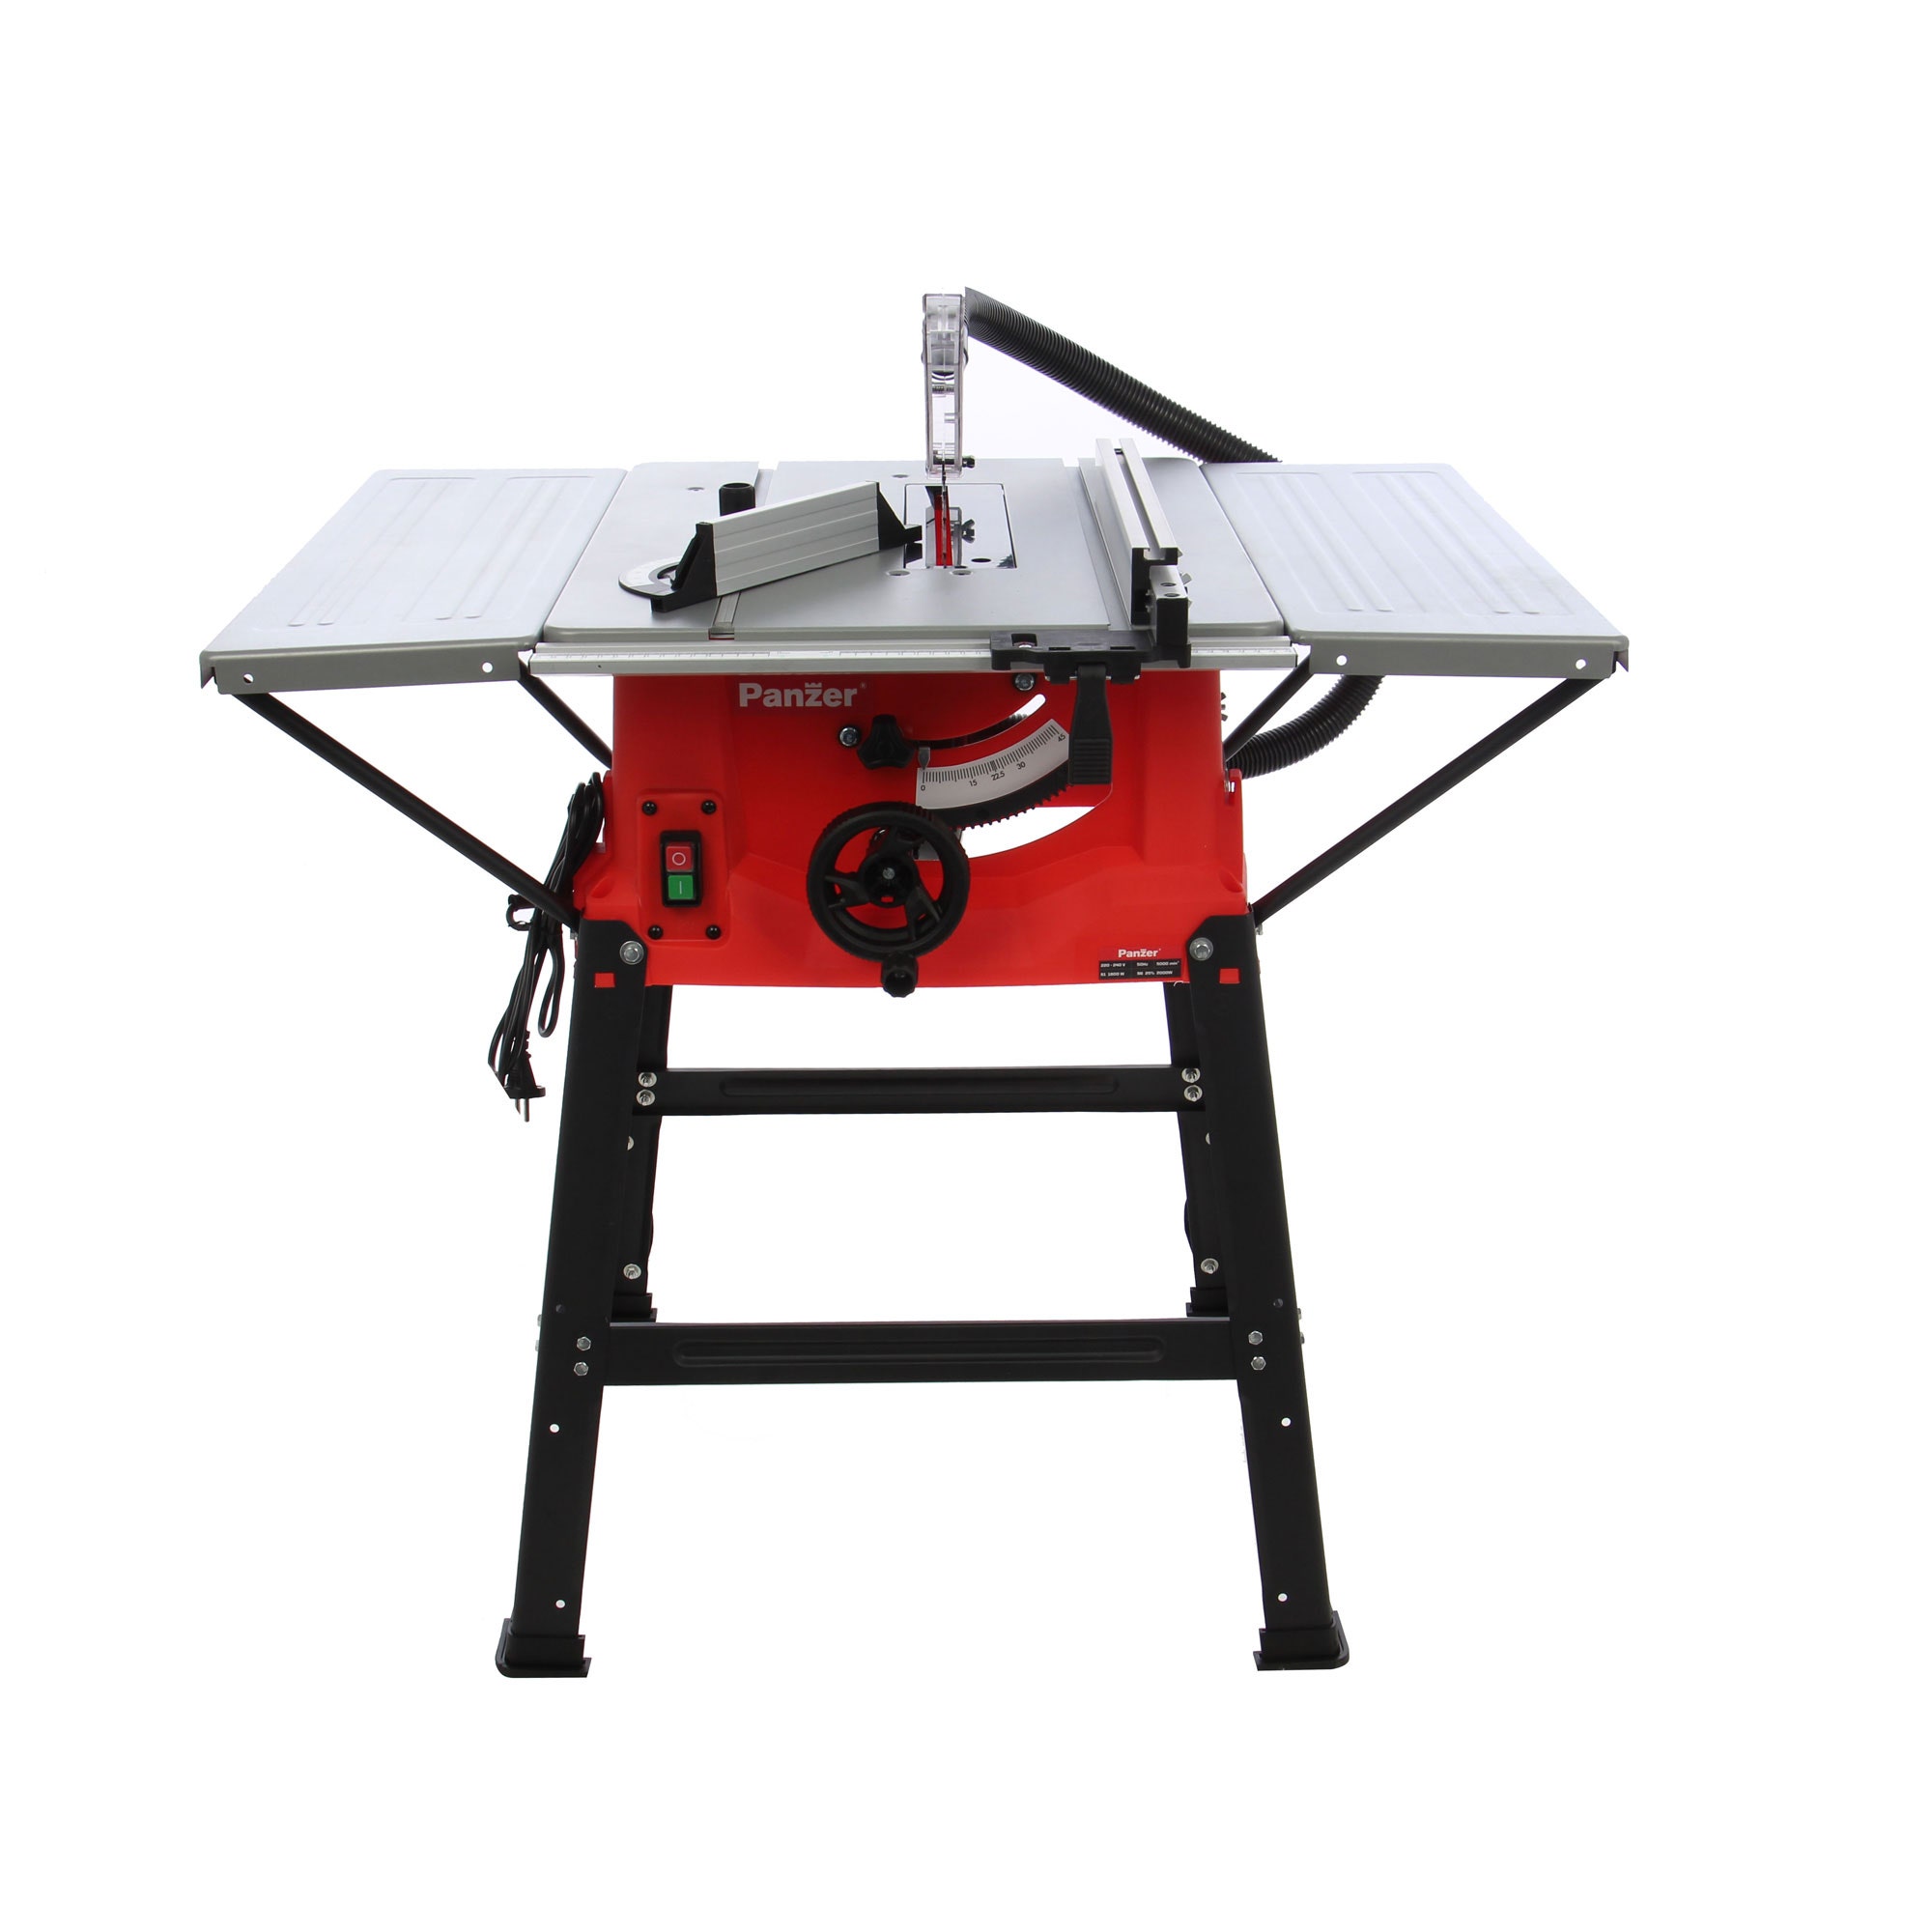
How many table saw manufacturers are there in the world?

Not many.

VonHaus 1800W

ParkerBrand PTS-250

Evolution FURY5-S

Lumberjack TS254SL

Scheppach HS100S

Ozito TSF-1121

Einhell TC-TS 2025

LZHZXY M1H-ZP2-255B FL1517 (No, I’m not kidding..)

Atika T 250 ECO-2

Panzer M1H-ZP2-250

These saws all seem to be varients of the Huafeng M1H-ZP2-250

Having owned the Ozito one.. they’re not terrible. My major complaint is the miter slot not being 3/4 inch width – and the shortness of the rip fence ruler – The Evolution and ParkerBrand ones have the longest, so they would probably be my choice.